Getting Started
If you decided to give Zenith a try, it’s time to create your copy of the project and start working with it locally. This guide will walk you through the initial setup process and help you get the project up and running on your machine.
Project requirements
Before you start working with Zenith, make sure you have the following installed on your machine:
Git
You will use it to clone the project and push your changes. If you don’t have it already, you can go through their installation guidelines.
Node.js 22.x
We recommend using some Node version manager like nvm or n instead of installing node directly. This way you can easily switch between different versions of Node.js across the projects. However, it it’s the only project you will use Node.js for, you can install the LTS versions directly from the official website.
VS Code
It’s not a requirement, but we recommend using Visual Studio Code as your IDE for this project. The project already contains some settings that will improve your development experience in this editor.
Initial setup guide
1. Fork the repository.
You can do it by clicking the “Fork” button in the right-top corner of the repository. Forking will allow you to sync your copy with the original project in the future.

2. Get your fork URL.
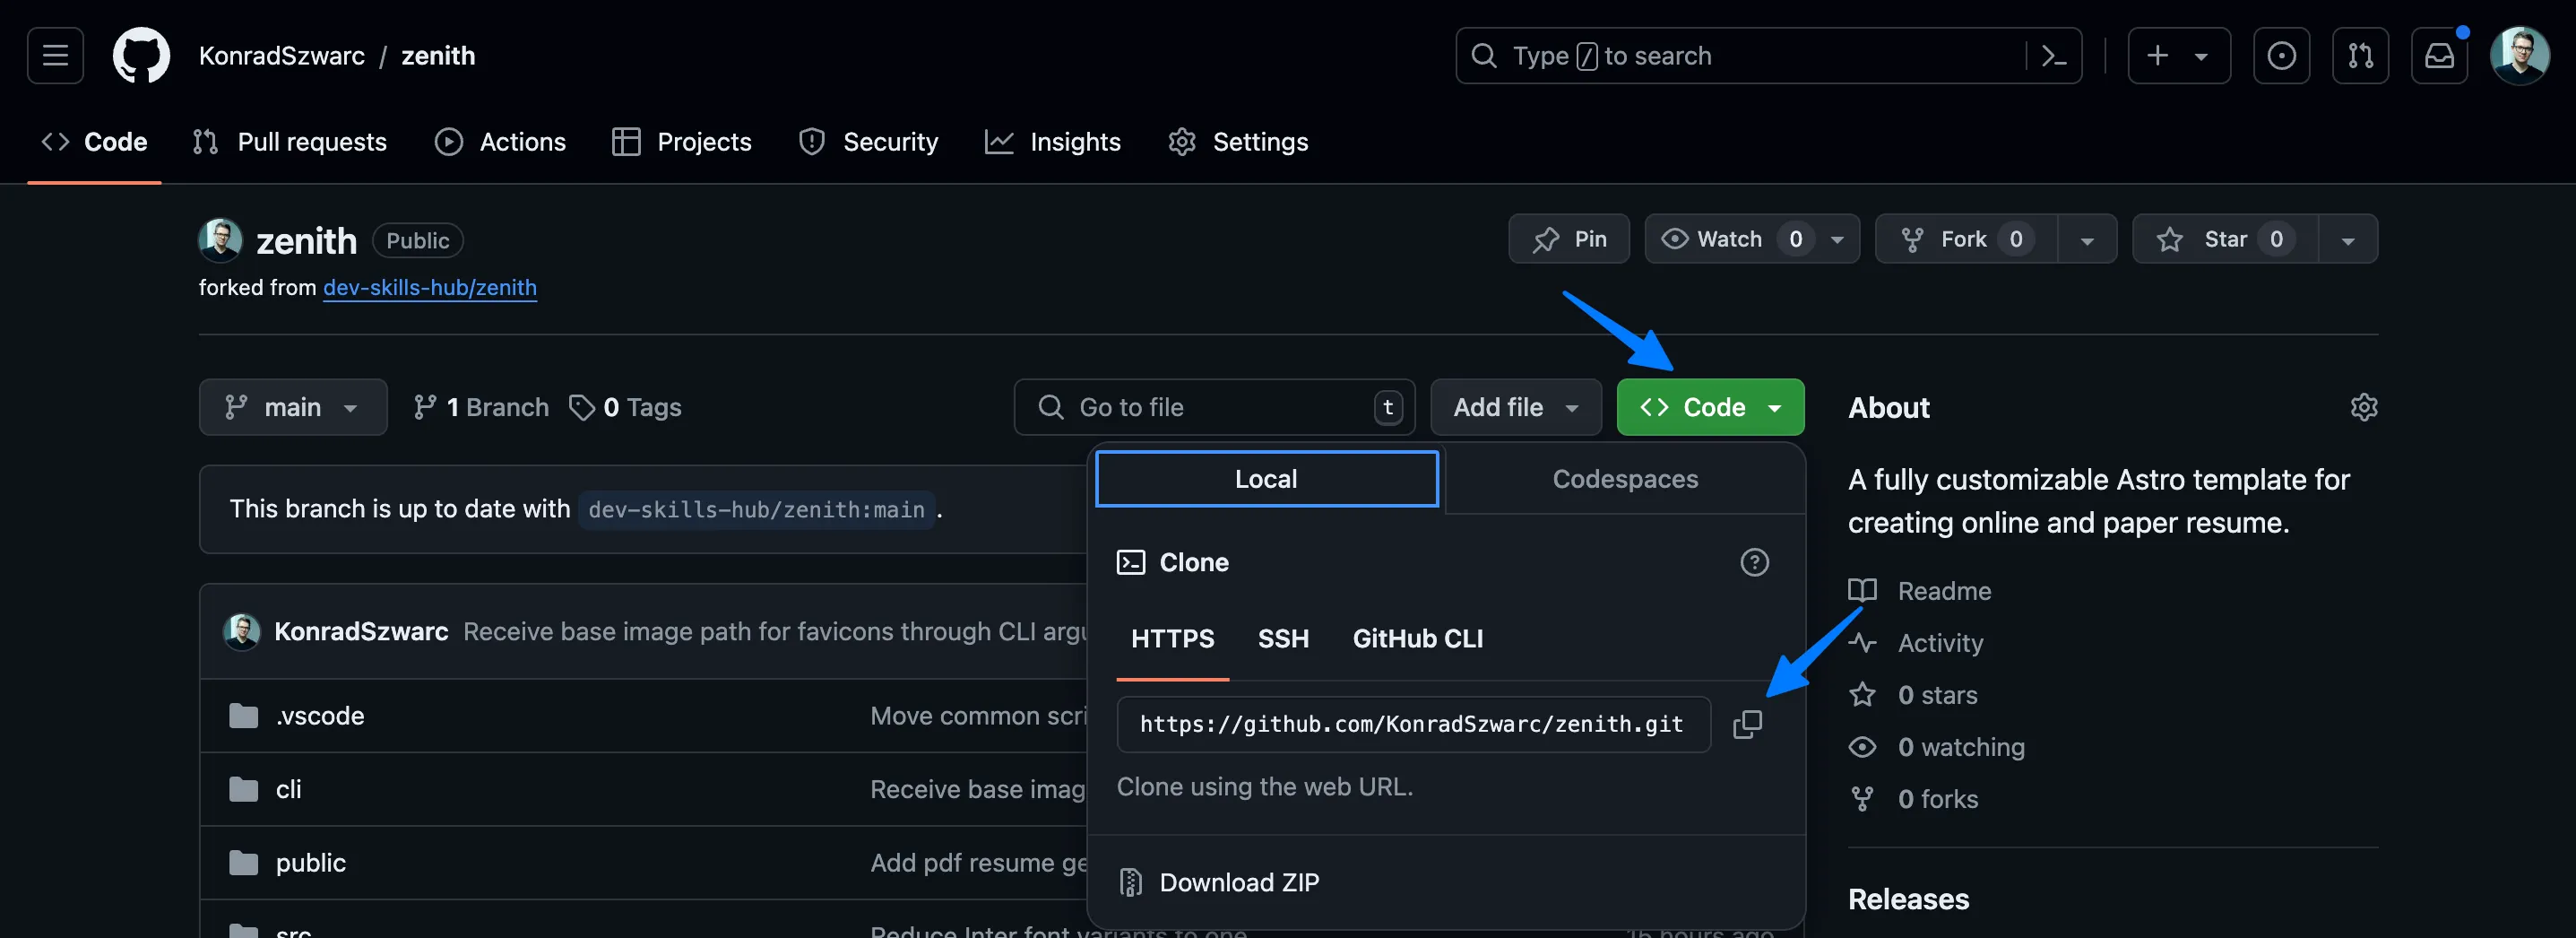
Go to your fork of the project and click the “Code” button. Then, copy the URL of the repository.

3. Clone the repository to your local machine.
Open your terminal and run the following command, replacing <your-fork-url> with the URL you copied in the previous step.
git clone <your-fork-url>4. Open the project.
Navigate to the project folder and open it in your favorite code editor. If you do it in VS Code, you will see a notification about recommended extensions. You can install them by clicking the “Install” button.
5. Install dependencies.
Run the following command in your terminal to install all the project dependencies and generate the initial set of assets.
npm install6. Start the development server.
After the installation is complete, you can start the development server by running the following command:
npm run devRunning server will be available at localhost:4321 with the following paths:
- Web version of the resume:
/and/template. - PDF version of the resume:
/pdfand/pdf/template. - Open Graph image preview:
/og.