Cloudflare Pages
This guide will walk you through the process of deploying your Zenith resume to Cloudflare Pages. It offers a free tier with unlimited bandwidth and 500 builds per month.
Prerequisites
-
Navigate to the
Workers & Pagesview using the sidebar. -
From the
Overviewpage click theCreatebutton. -
Chose
Pagesfrom the tabs (by defaultWorkersis selected).
Drag and drop deployment
Using this approach, you build your project locally and then drag and drop the build folder to the Cloudflare Pages dashboard.
-
Click on the
Upload assetsbutton. -
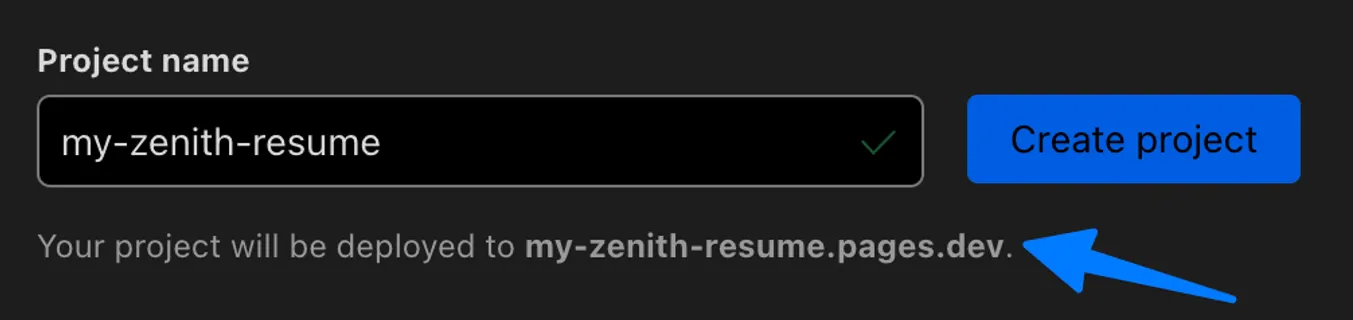
Provide your project name and copy the site URL generated below the input field.
-
On your local machine, create
.envfile in the root of your project and addASTRO_SITE=https://url-you-copiedvariable. -
Build your project using the
npm run buildcommand. -
Drag and drop the
distfolder from your machine to Cloudflare Pages (second step of the form) and click theDeploy sitebutton. -
Your resume is online! To update it in the future, click on the
Create new deploymentbutton in your project’sDeploymentstab and repeat steps 8 and 9.
Automated deployment
Using this approach, you connect your GitHub repository to the Cloudflare Pages dashboard and deploy your project automatically after each push to the main branch.
-
Click on the
Connect to Gitbutton. -
Select a GitHub repository with your Zenith fork. You may be asked to give Cloudflare permissions to access your repositories.
-
Provide the project name and copy site URL generated below the input field.
-
Open an
Environment variablessection and addASTRO_SITEvariable withhttps://url-you-copiedvalue.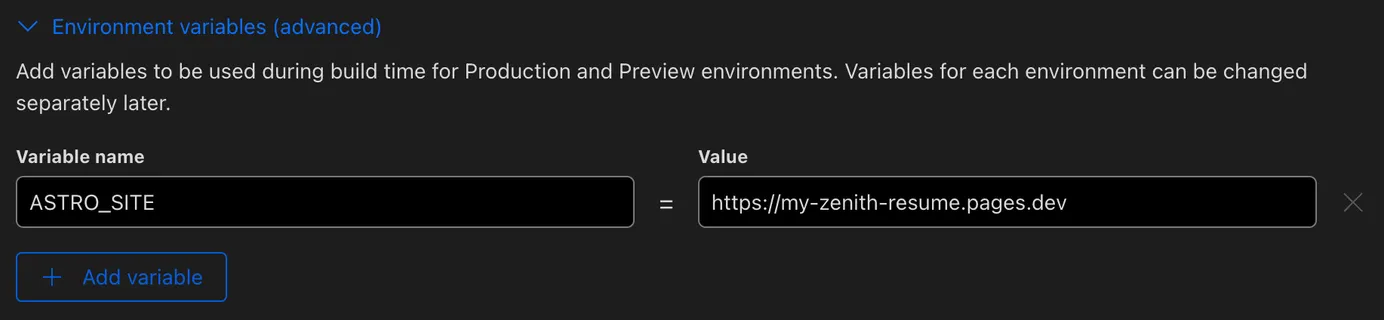
-
In build settings set the
Framework presetselect toAstro.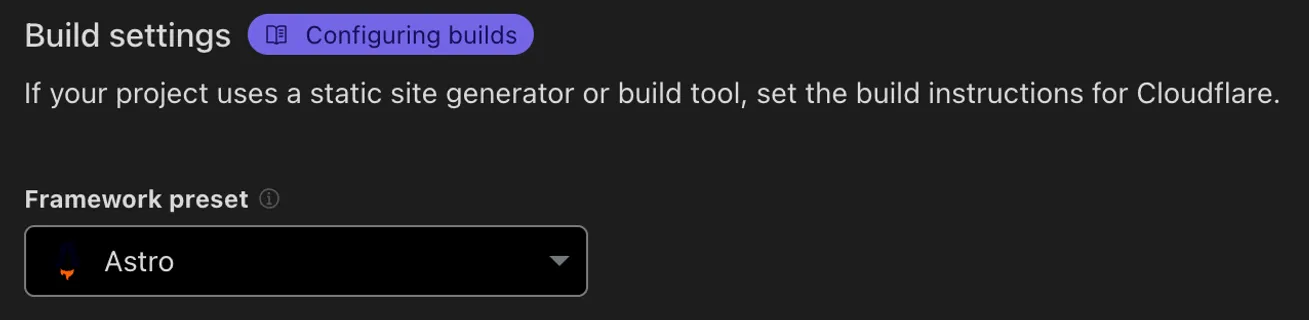
-
Click the
Save and Deploybutton. -
After the deployment is finished, your resume is online! To update it in the future, you only need to push local changes to the
mainbranch of your repository.
Custom domain
If you add a custom domain for your resume, remember to update the ASTRO_SITE environment variable the same way you set it during the initial project setup.